Portland Guitar Co. | Portland Oregon | Contact Jay Dickinson-503.245.3276 | jay@portlandguitar.com
Portland Guitar Pretty Good Intonation (PGPG) System
Finished Build
Orchestral Model
Serial # OM 2.14.65
OM..................... 15" Lower Bout
Body..................... Walnut
Top....................... Sitka Spruce
Bracing................. Engineered asymmetrical modified X-bracing system
Neck..................... 25.4" Scale Maple,
User Adjustable Tilt Action Neck … Variable String to Fretboard Spacing
Dual action truss rod
Fretboard.............. Ebony
Bridge................... Ebony
Binding................. Blooodwood
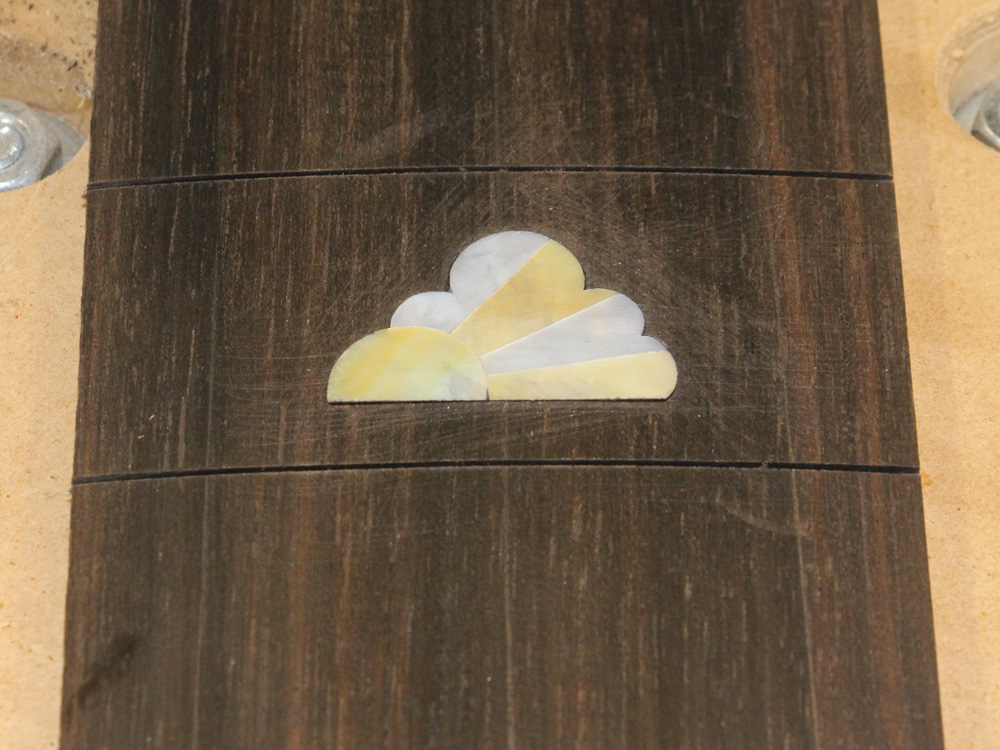
Appointments....... Shell Inlay
Tuners.................. Gotoh 510 Silver
Nut & Saddle....... Bone
Page 5
 ( 195 ) 13-Apr-2015
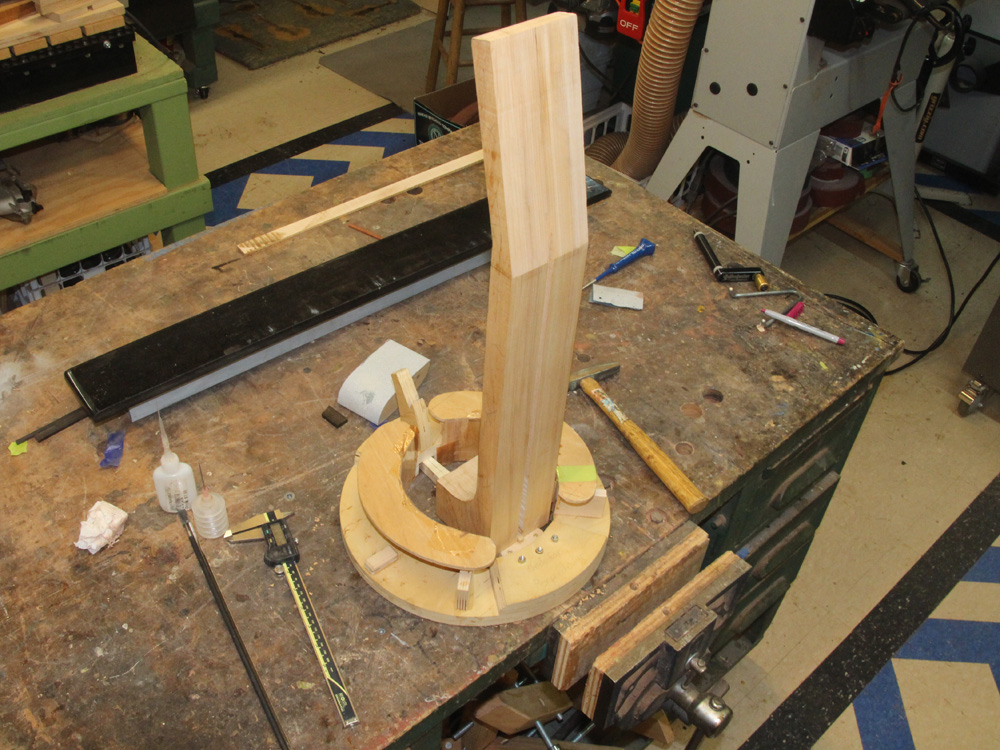
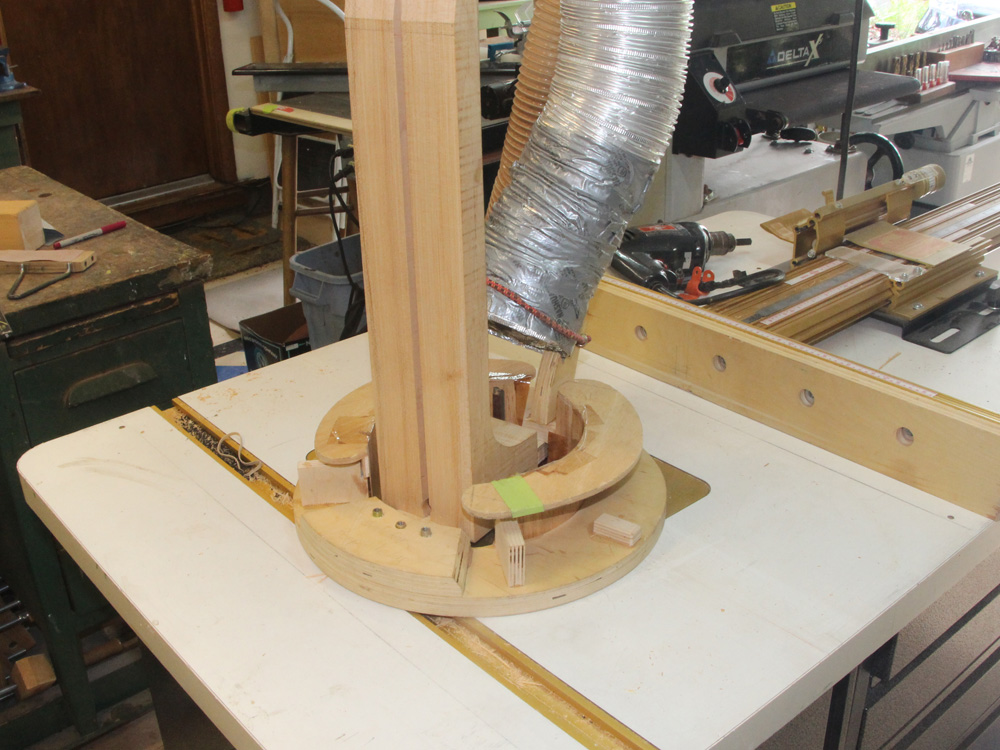
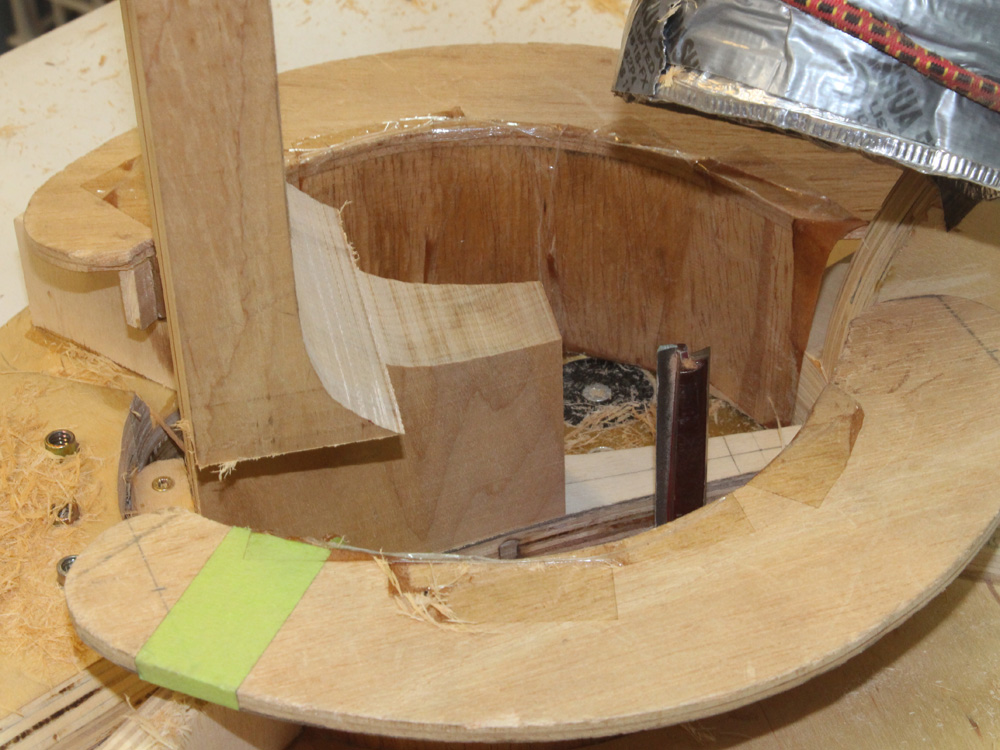
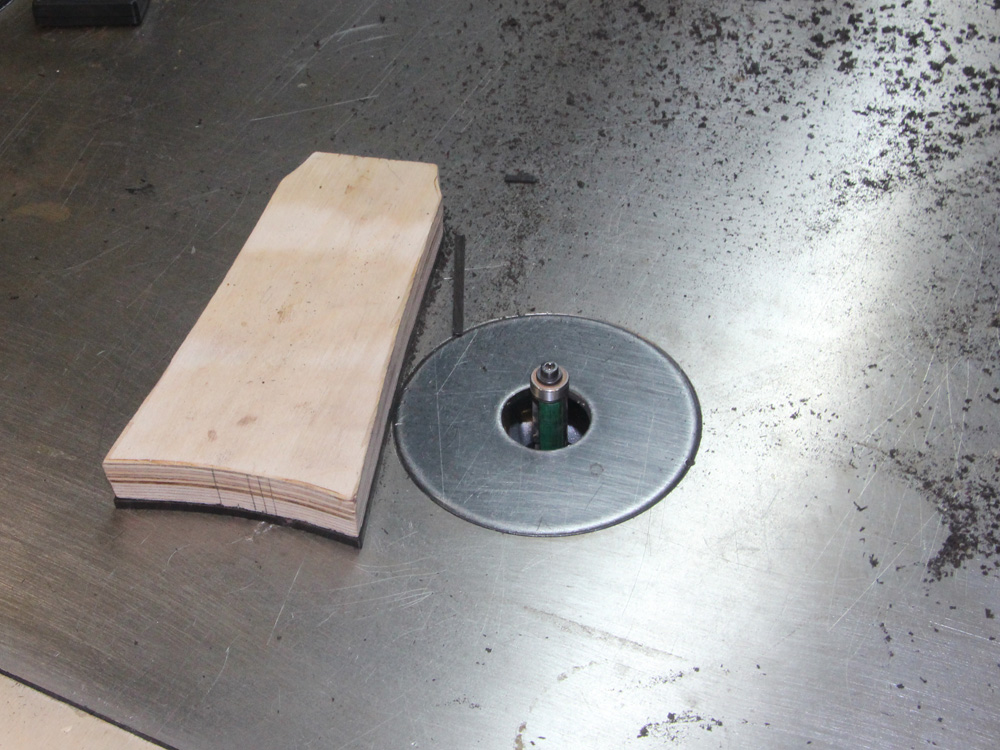
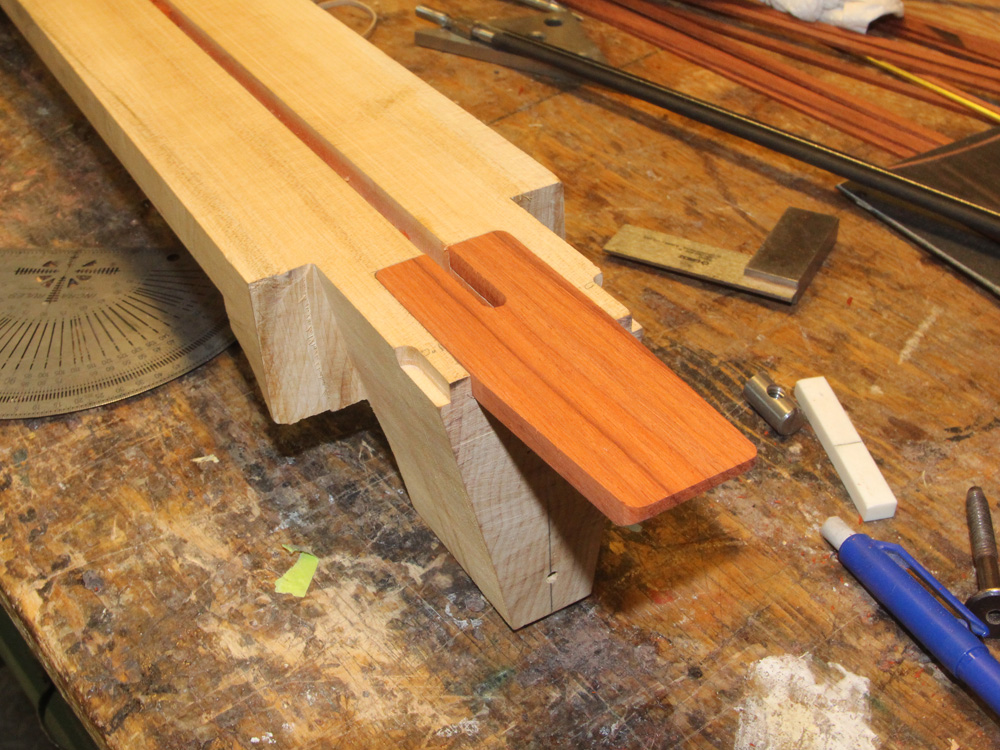
This is the tool I use to carve a compound radius surface on the fretboard. This guitar will have a radius of curvature (ROC) at the 12th fret of 16 inches. Since the fretboard is a cone section, due to its taper, the ROC at the nut is 12.75 inches and at the saddle it is 19.25 inches. This tool is essentially an asymmetric double poll pendulum mounted on a slide.
 ( 196 ) 13-Apr-2015
The fretboard gets taped to the underside of the crossbar.
 ( 197 ) 13-Apr-2015
And then slid over the router bit. Since the pendulum has arms of different length it sweeps out a section of a cone... exactly what we want. By adjusting the length of the arms I can change the desired radius of curvature.
 ( 198 ) 13-Apr-2015
 ( 199 ) 13-Apr-2015
 ( 200 ) 13-Apr-2015
 ( 201 ) 13-Apr-2015
I check for lengthwise flatness with a straight edge and a feeler gauge. If this isn't flat one or more frets will sit proud and cause buzz.
 ( 202 ) 13-Apr-2015
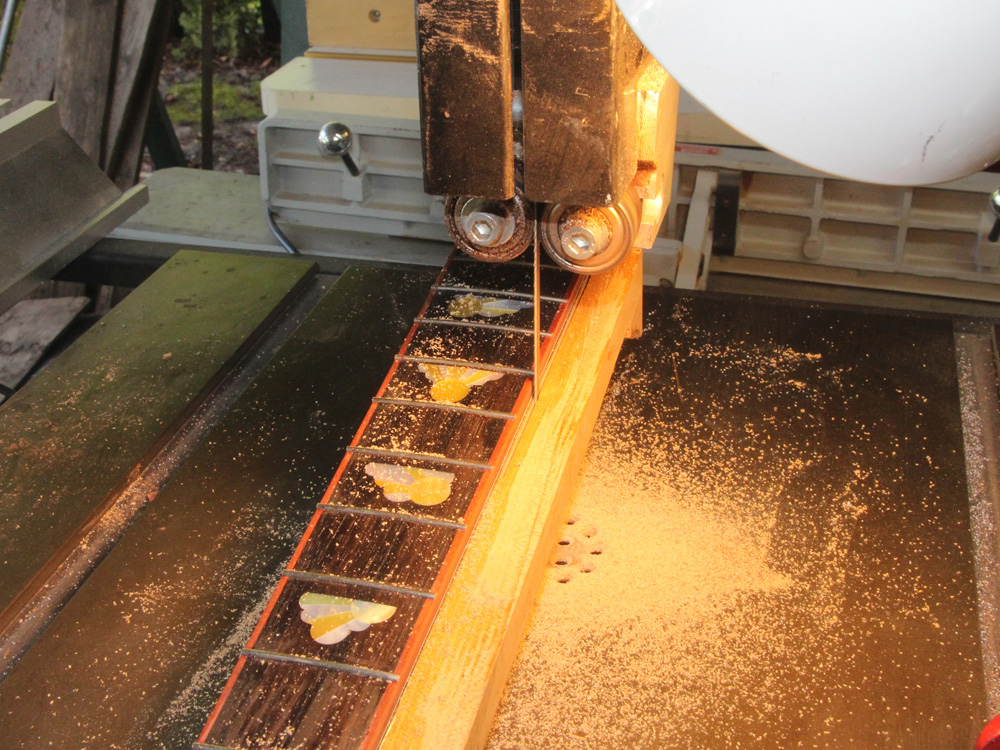
I use my CNC tool with a slit saw to create the fret slots.
 ( 203 ) 13-Apr-2015
 ( 204 ) 13-Apr-2015
 ( 205 ) 13-Apr-2015
And then I change tools and use an itty bitty mill end to route the inset for the fret inlays.
 ( 206 ) 13-Apr-2015
 ( 207 ) 13-Apr-2015
 ( 208 ) 13-Apr-2015
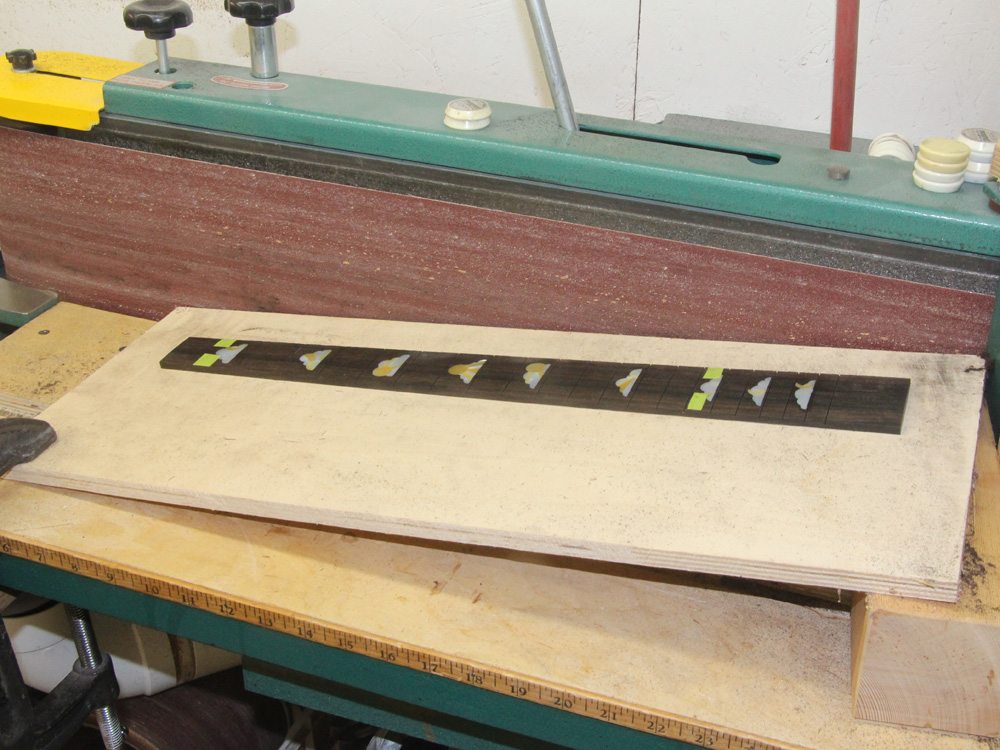
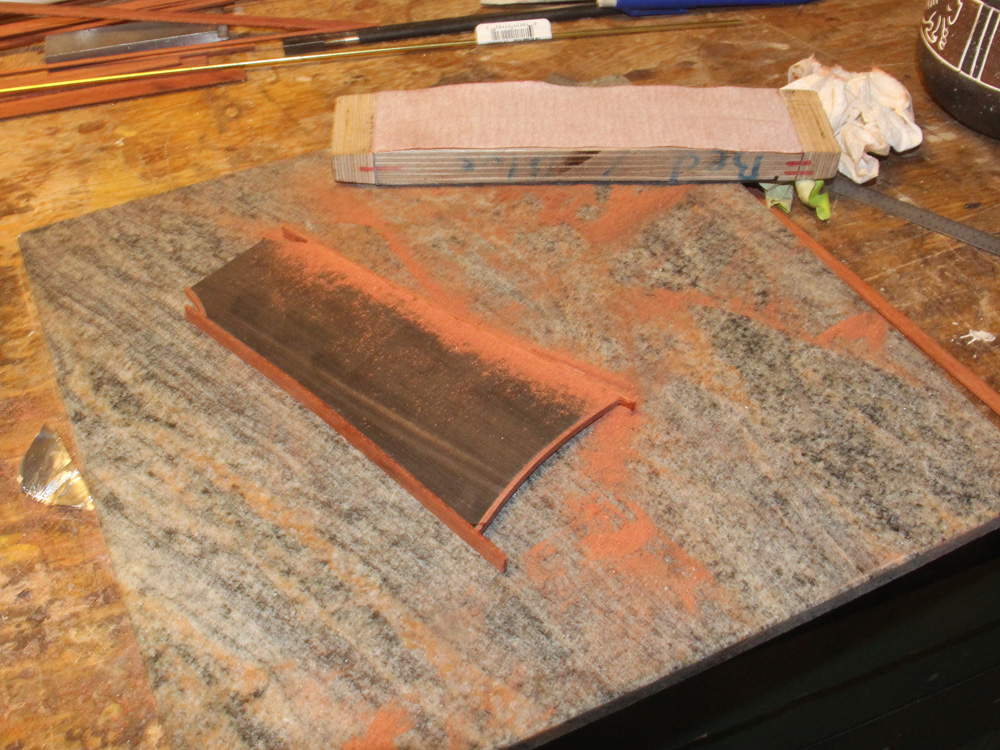
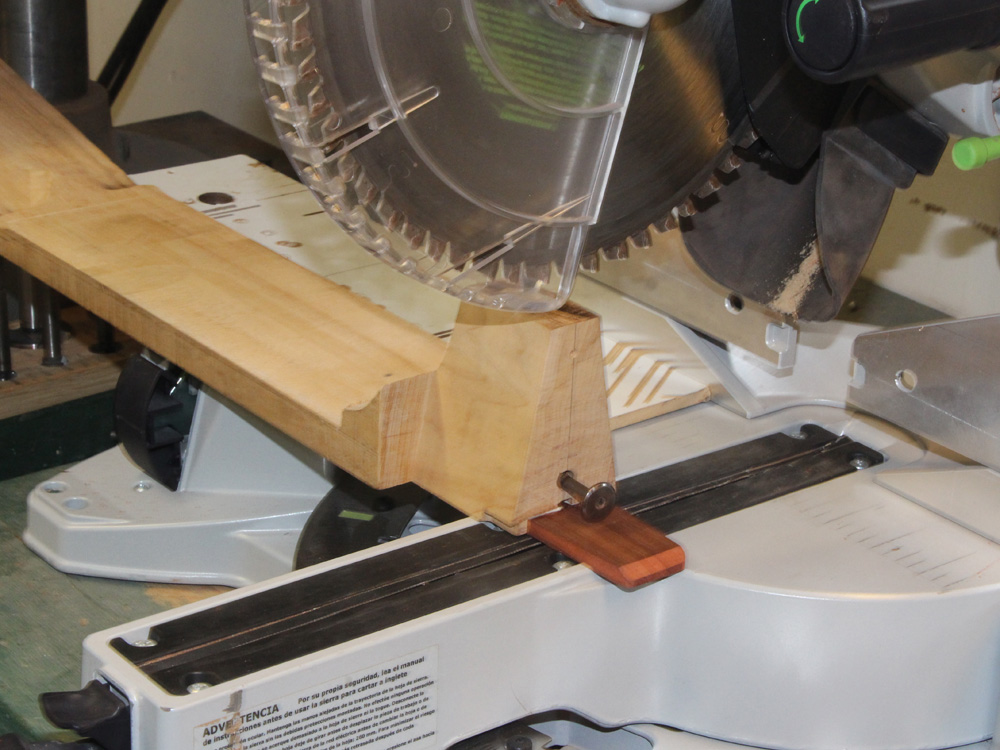
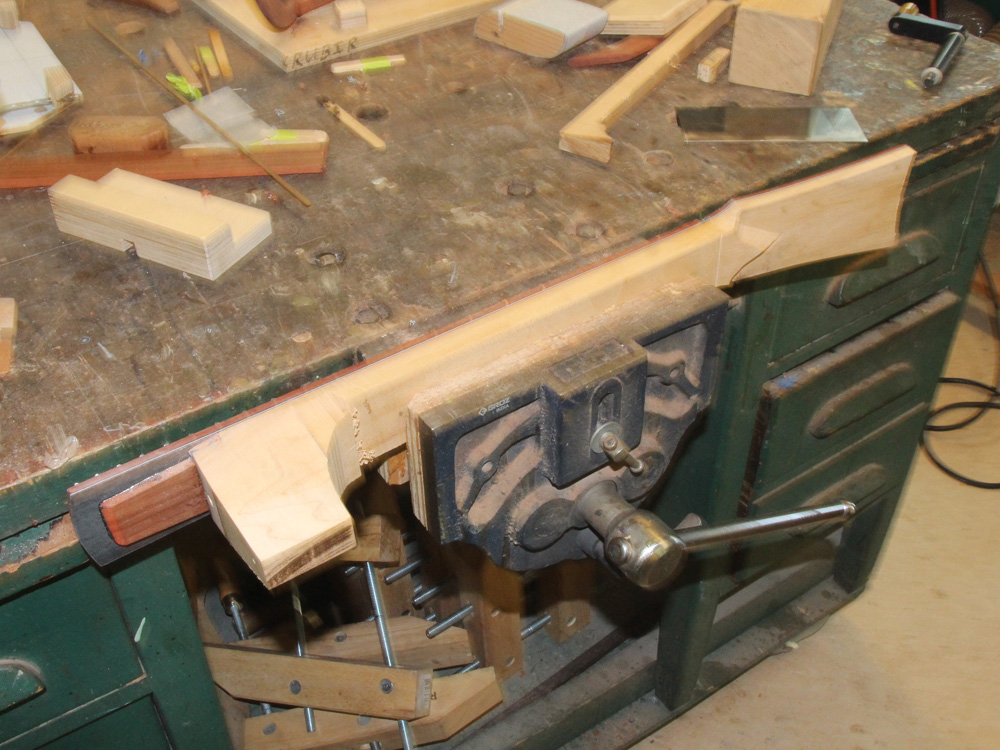
After careful measurement I trim the fretboard to size.
 ( 209 ) 13-Apr-2015
I fine tune the dimensions with the belt sander.
 ( 210 ) 13-Apr-2015
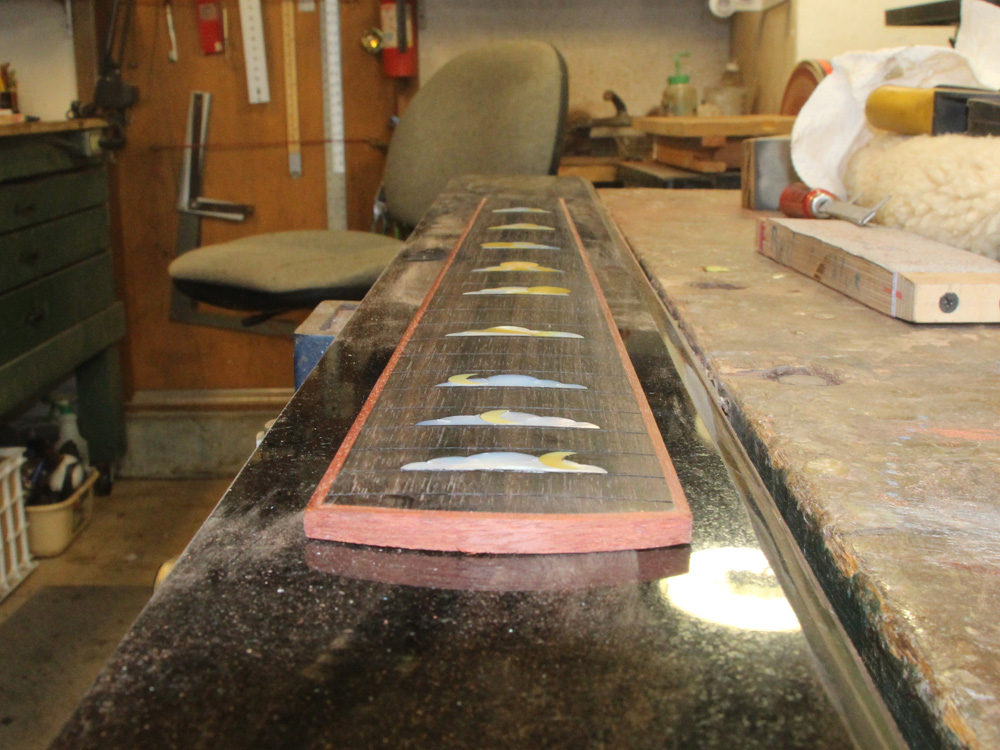
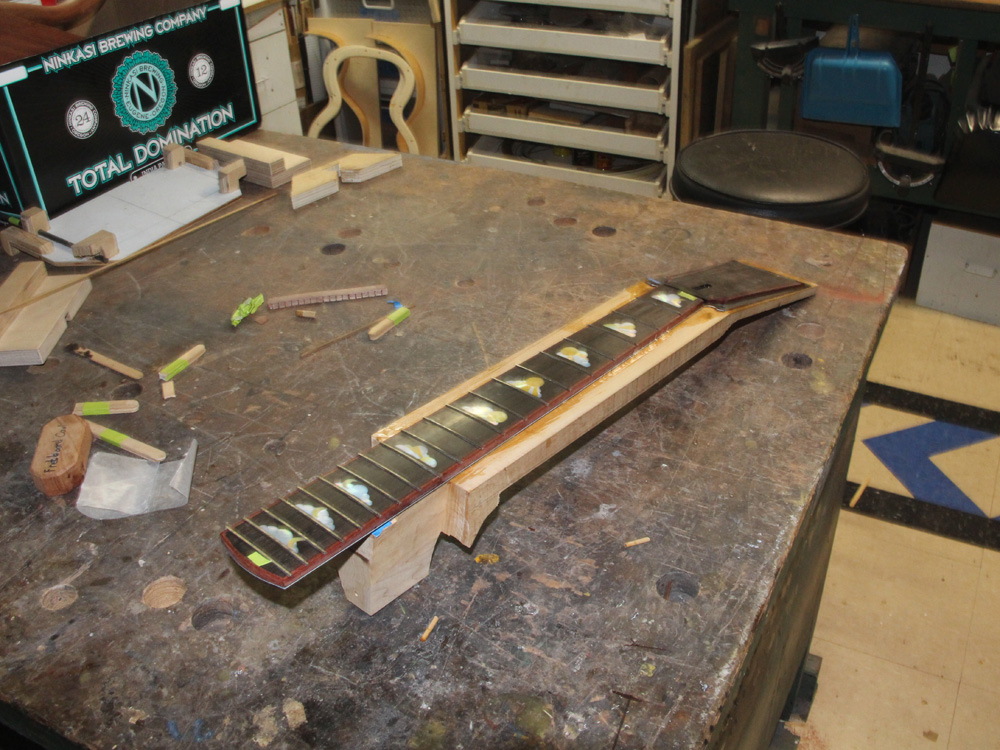
And now I can start to install the binding.
 ( 211 ) 13-Apr-2015
 ( 212 ) 13-Apr-2015
 ( 213 ) 13-Apr-2015
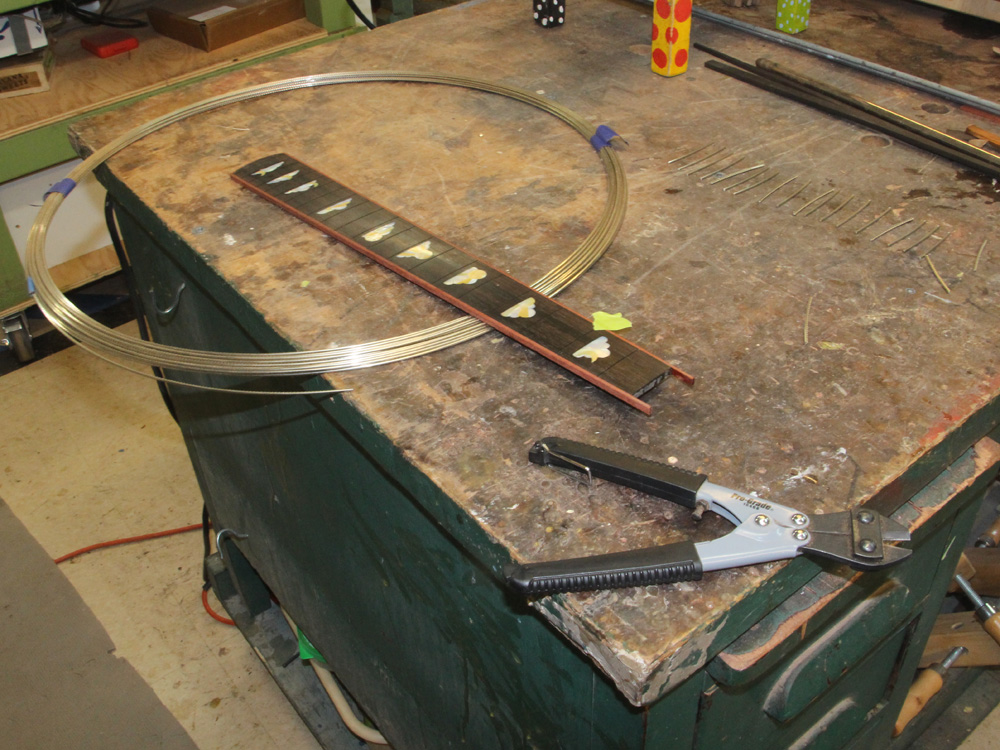
Here are some of the tools and material to do the fret job.
 ( 214 ) 13-Apr-2015
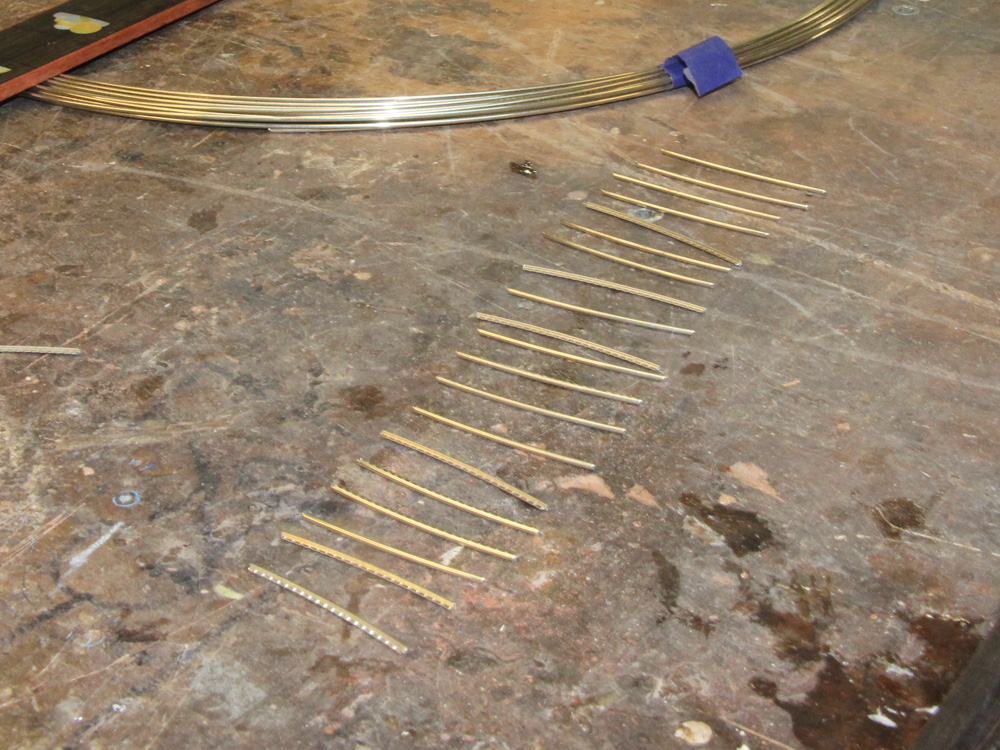
First I cut a set of frets, oversized a bit.
 ( 215 ) 13-Apr-2015
And then I use a small belt sander and jig to remove the fretwire tang where it overlaps the binding.
 ( 216 ) 13-Apr-2015
 ( 217 ) 13-Apr-2015
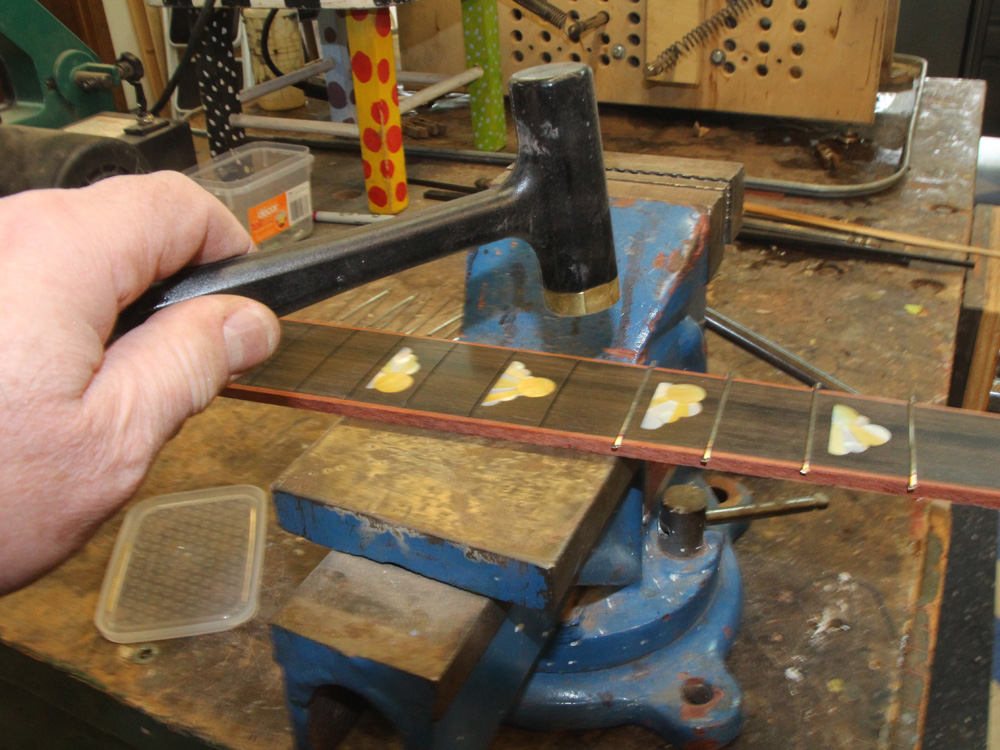
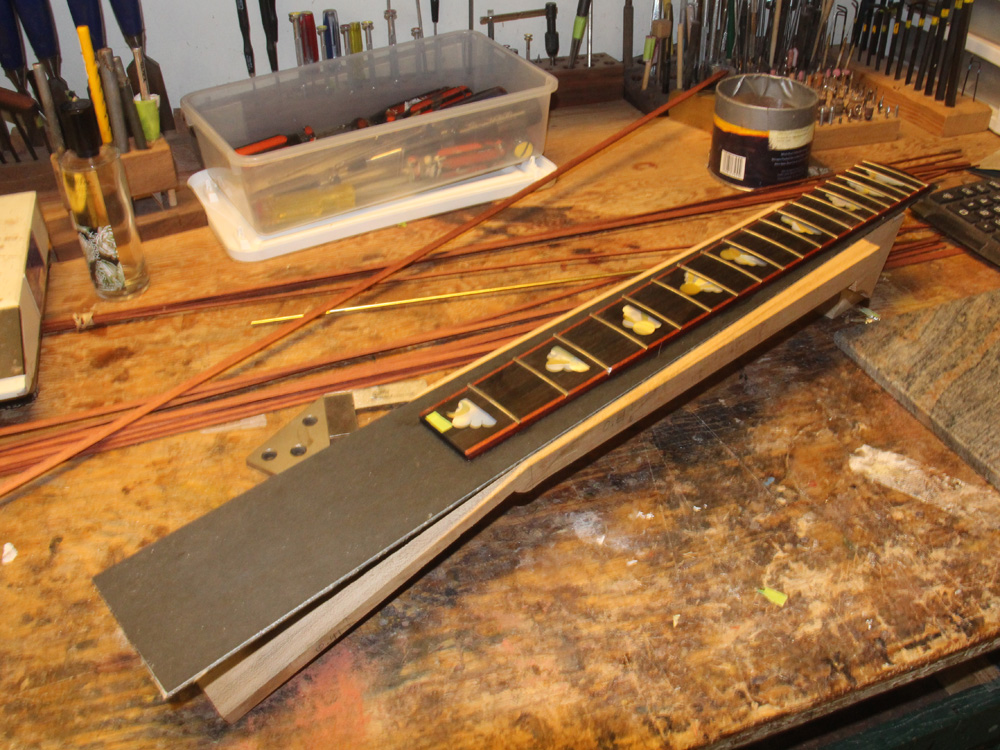
And then I hammer in the fretwire.
 ( 218 ) 13-Apr-2015
I mount the fretboard in a vise to insure the ends of the fretwire are in good contact with the surface, and then I apply a drop of CA glue to stabilize everything.
 ( 219 ) 13-Apr-2015
I then trim then ends of the fretwire.
 ( 220 ) 13-Apr-2015
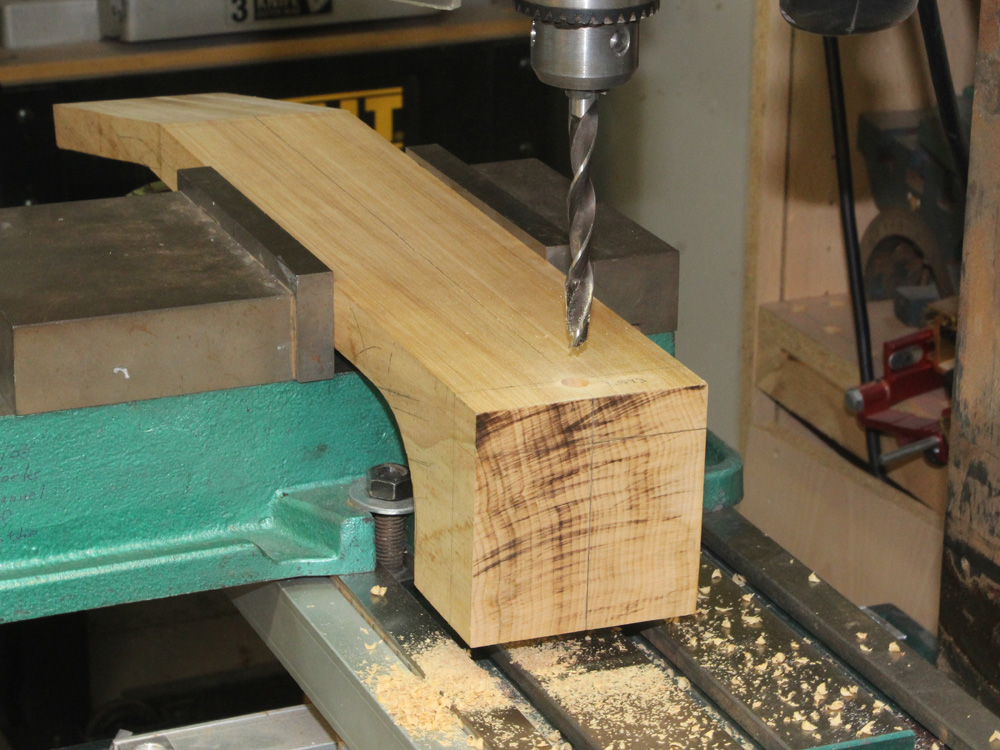
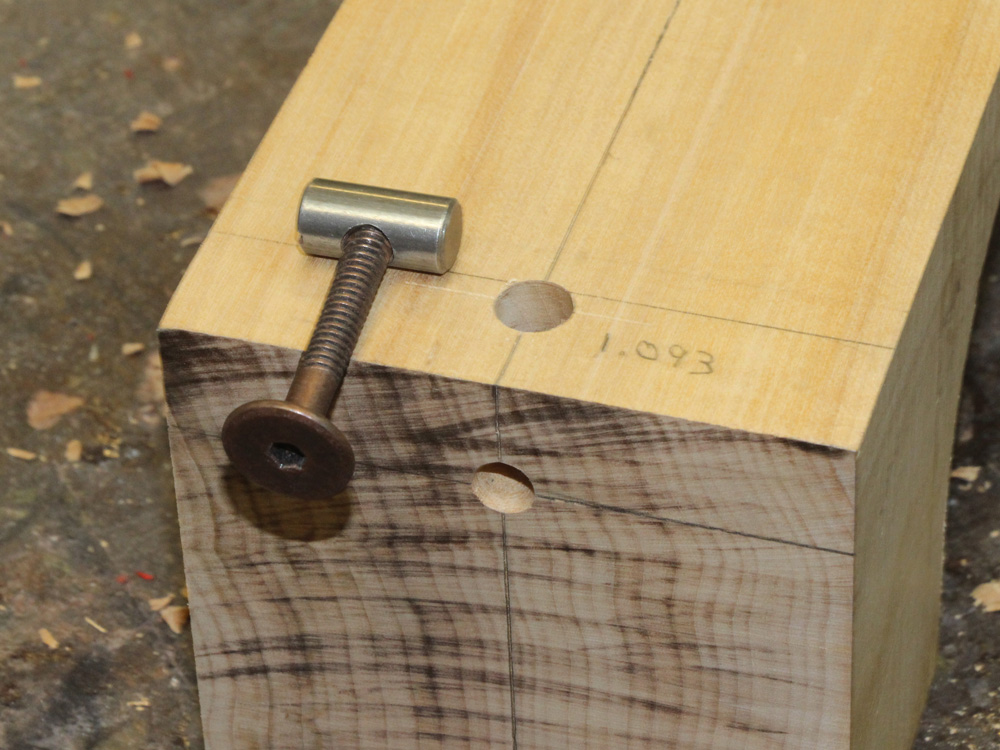
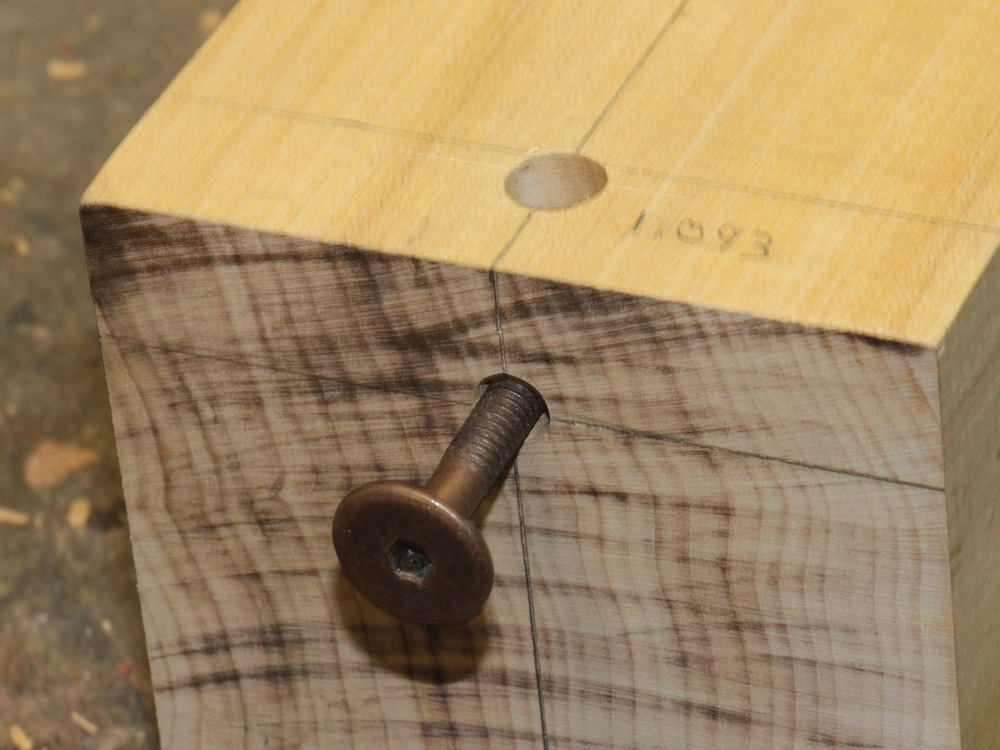
Now onto the neck. I have a maple neck blank here. I start by drilling the holes for the central neck attachment hardware.
 ( 221 ) 13-Apr-2015
 ( 222 ) 13-Apr-2015
 ( 223 ) 13-Apr-2015
Then I use the router table to create a channel for the two way truss rod.
 ( 224 ) 13-Apr-2015
 ( 225 ) 13-Apr-2015
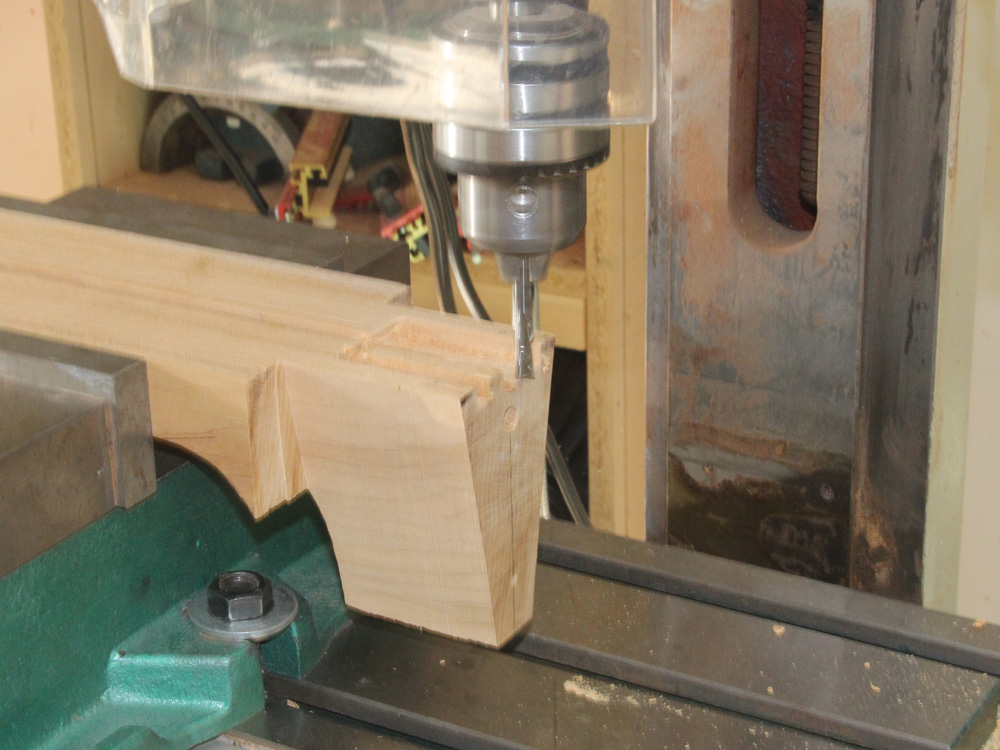
Now I mount the neck blank in this special fixture that has the heel shaped template on the bottom.
 ( 226 ) 13-Apr-2015
 ( 227 ) 13-Apr-2015
I use a long router bit to shape the heel.
 ( 228 ) 13-Apr-2015
 ( 229 ) 13-Apr-2015
The milling machine is used to create the channels for the cantilevered fretboard support plate and the hidy wings.
 ( 230 ) 13-Apr-2015
 ( 231 ) 13-Apr-2015
This is the first time the neck is mounted on the body.
 ( 232 ) 13-Apr-2015
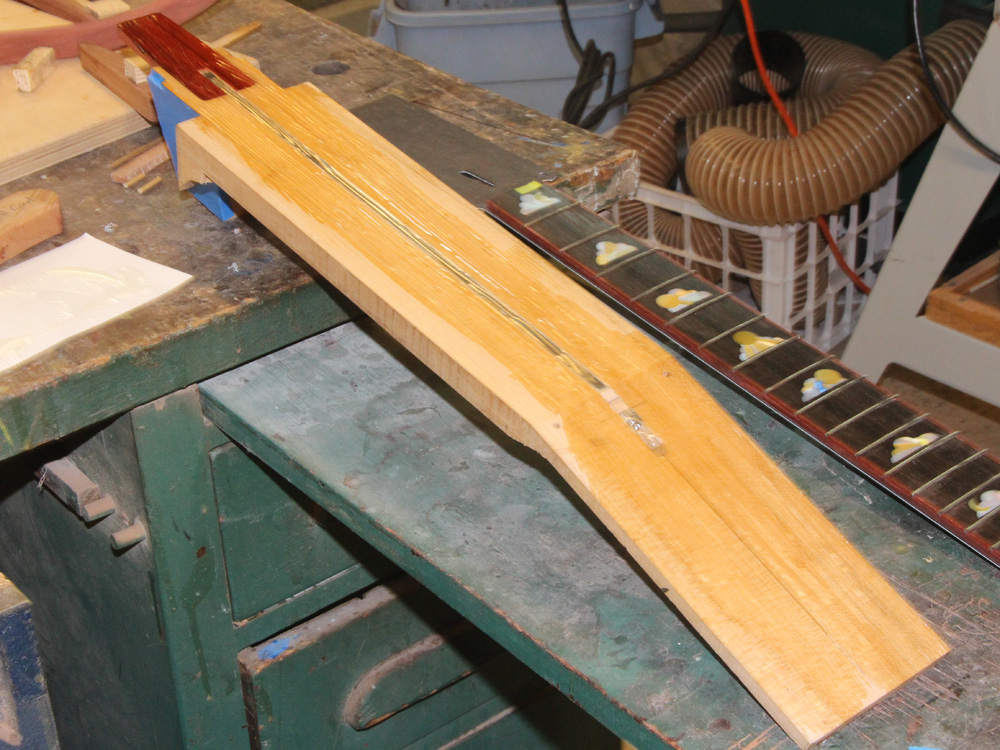
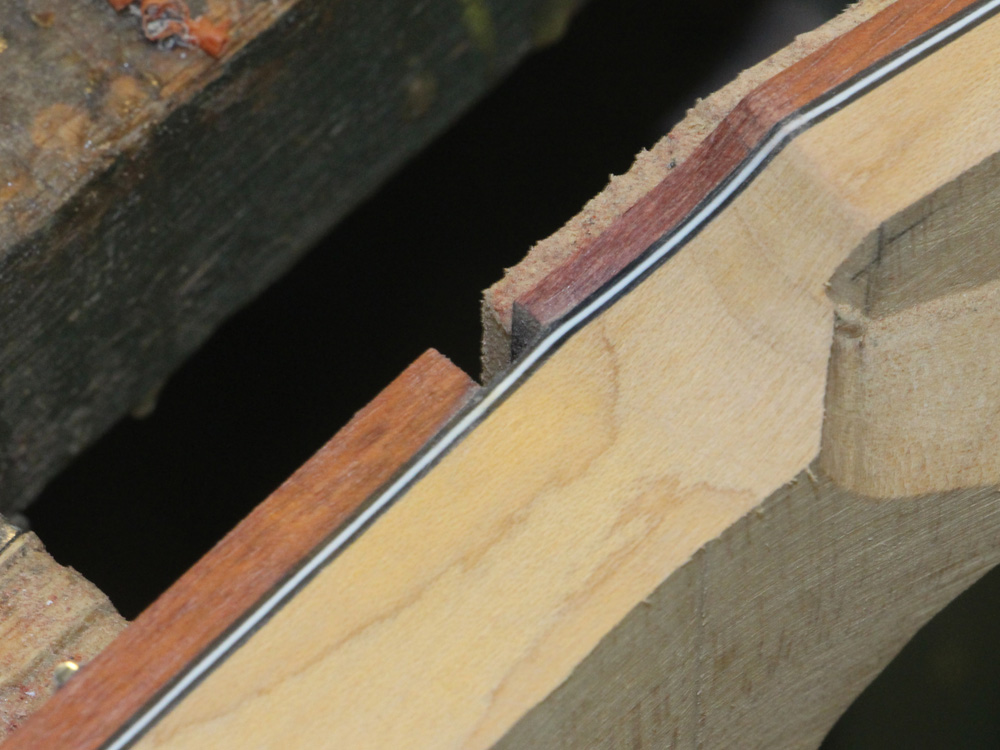
To carry forward the black/white/black pin-striping from the body to the neck I use a sandwich of b/w/b fiber sheets under the fretboard. Although expensive in terms of the use of the fiber sheets, this method results in a pinstripe that goes all of the way around the neck without a seam. Here I am gluing the sheets together.
 ( 233 ) 13-Apr-2015
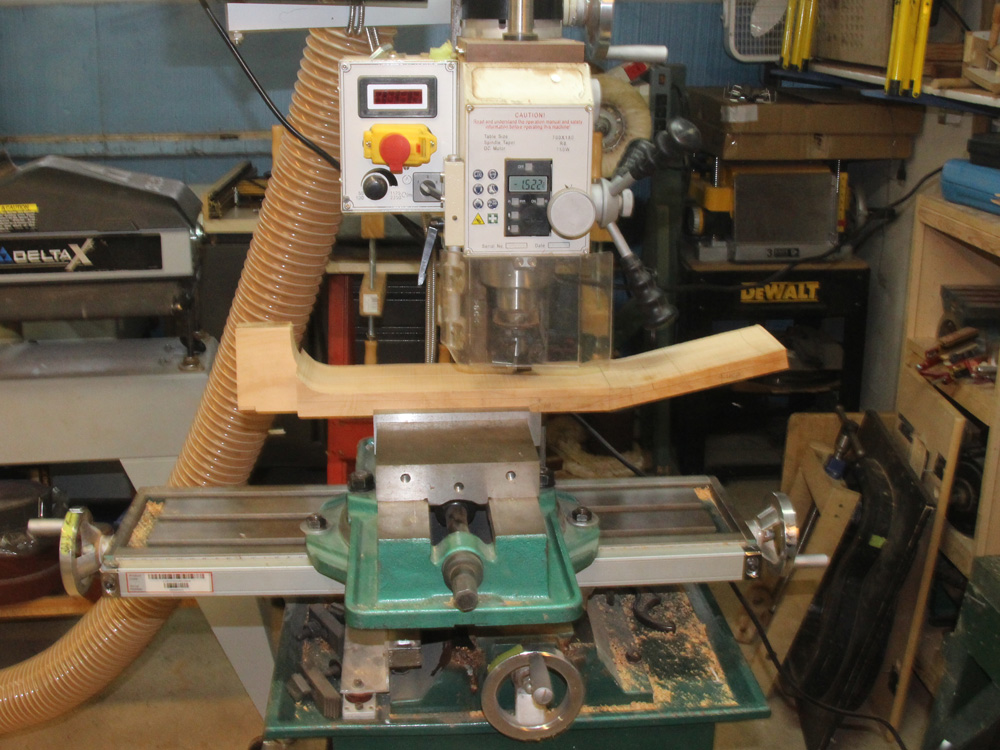
Now I start dimensioning the neck with the milling machine.
 ( 234 ) 13-Apr-2015
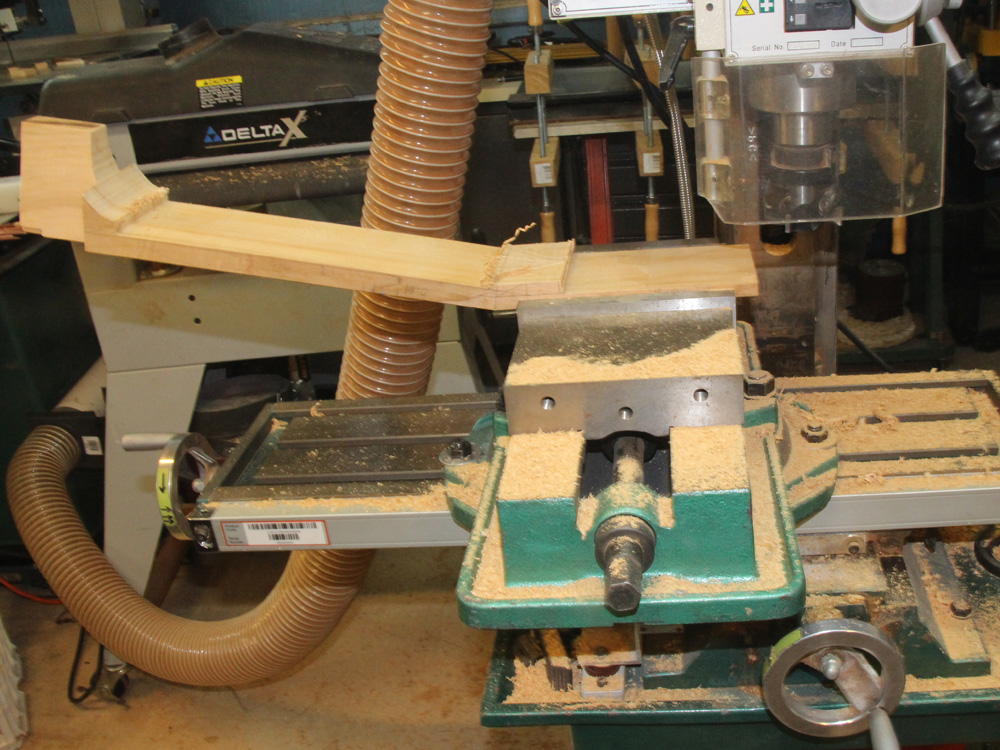
And working on the head stock.
 ( 235 ) 13-Apr-2015
The volute requires special care.
 ( 236 ) 13-Apr-2015
 ( 237 ) 13-Apr-2015
The ebony head stock veneer is shaped using a template and router table.
 ( 238 ) 13-Apr-2015
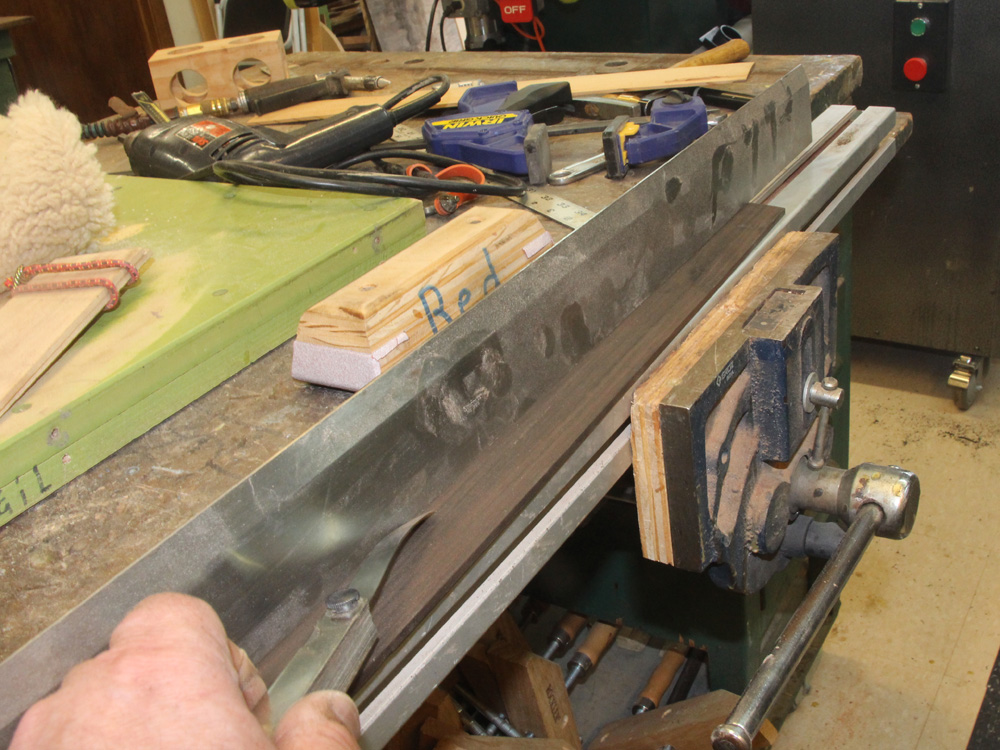
And it is bound with bloodwood.
 ( 239 ) 13-Apr-2015
 ( 240 ) 13-Apr-2015
To start the assembly process I apply glue to the bottom of the fretboard...
 ( 241 ) 13-Apr-2015
and glue it to the b/w/b sheet.
 ( 242 ) 13-Apr-2015
 ( 243 ) 13-Apr-2015
A rough trim job.
 ( 244 ) 13-Apr-2015
Now I have to get everything positioned correctly. I use the small wooden pegs to register the assembly to the neck blank.
 ( 245 ) 13-Apr-2015
Here I have installed the cantilevered fretboard support plate.
 ( 246 ) 13-Apr-2015
I trim the back of the heel to 3 degs to give a little extra adjustment room in the heel channel.
 ( 247 ) 13-Apr-2015
Ready to go.
 ( 248 ) 13-Apr-2015
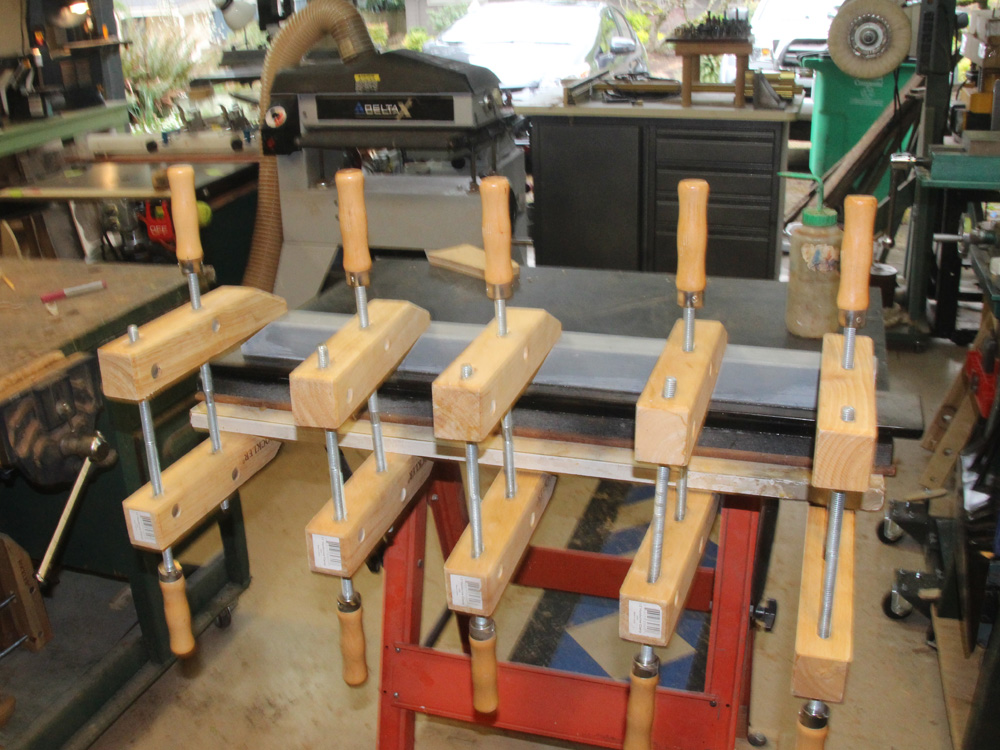
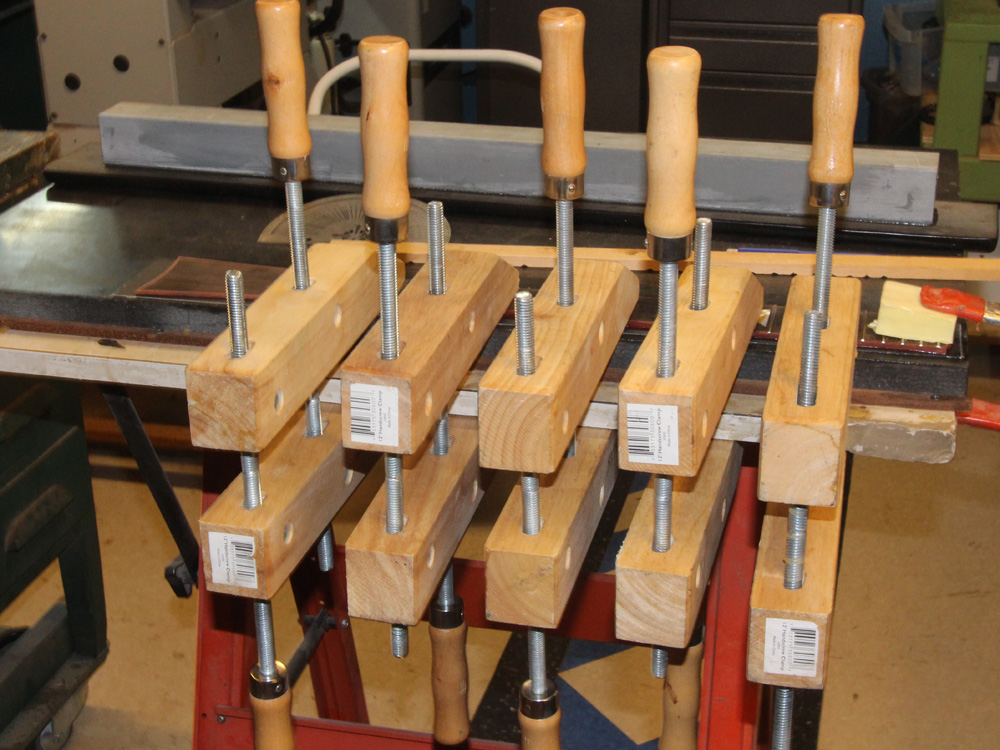
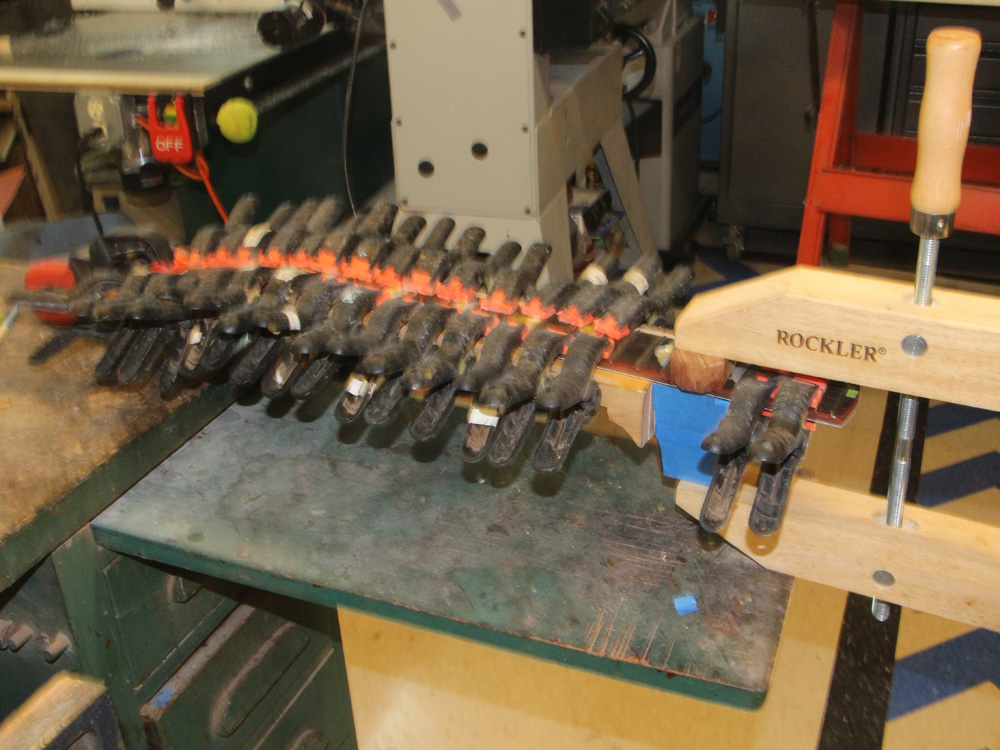
A bit of glue...
 ( 249 ) 13-Apr-2015
... and lots of clamps.
 ( 250 ) 13-Apr-2015
 ( 251 ) 13-Apr-2015
 ( 252 ) 13-Apr-2015
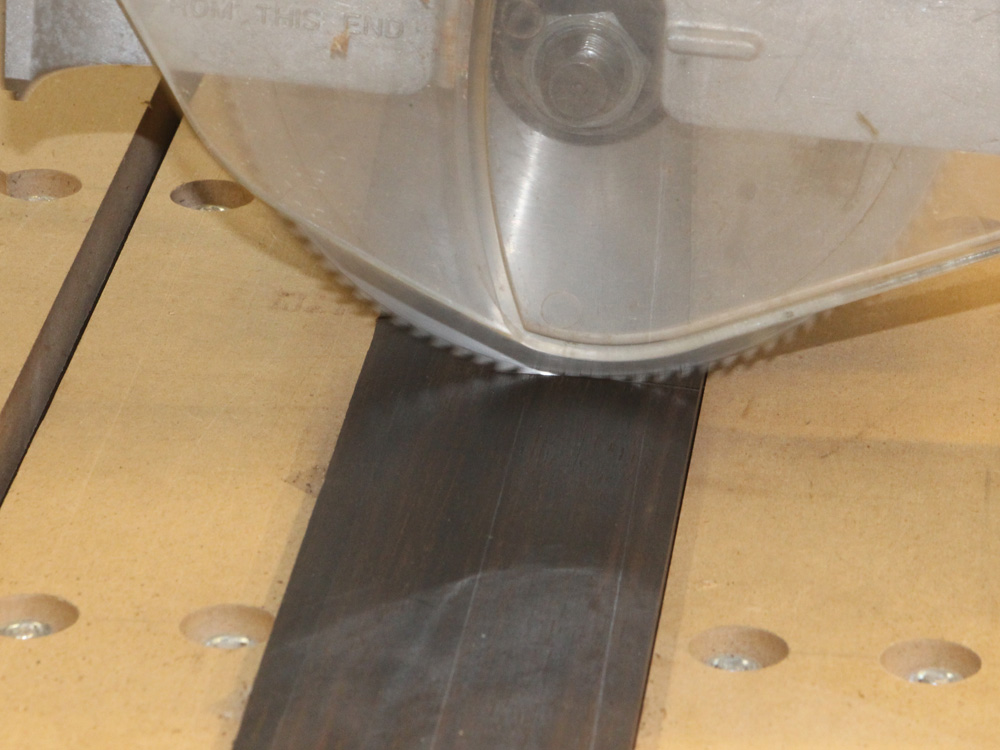
The bandsaw is used to trim off the excess.
 ( 253 ) 13-Apr-2015
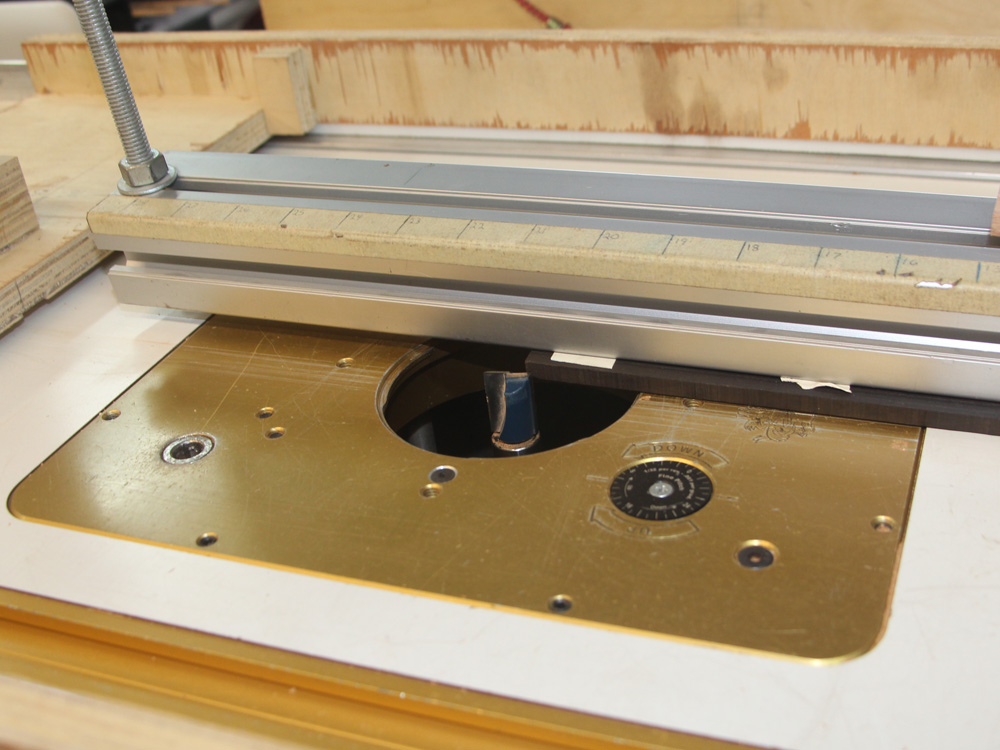
And I finish up with the router table.
 ( 254 ) 13-Apr-2015
A scrapper gives a good crisp look to the pinstripe.
 ( 195 ) 13-Apr-2015